It’s our favourite week of the year again! And how…
Frugal February’s ‘Pimp My Pen’ Competition!
Get Creative & Win a £100 Voucher to Spend on Pens at ThePenCompany.com
February is arguably one of the dullest months of the year – it’s cold, it’s dark, and most of us are still recovering from Christmas spending and over-indulgence. Not to mention those New Year’s resolutions we’re all trying to stick to! So, we thought, what can we do to bring some joy to our customers at this frugal time of year? A fun competition, of course!
Introducing…
Pimp My Pen!
It’s time to get creative, pen friends. The idea is simple – use any pen you like (although we’d recommend a cheap one, just incase you’re not keen on the result!) and decorate it however you like. It could be themed (favourite TV shows, bands, films, sports etc.), it could be girly… it could be anything you fancy!
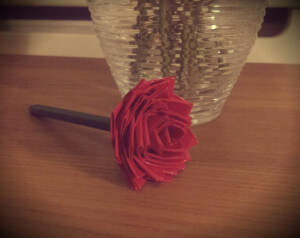
To get your creative juices flowing, we have pimped a pen ourselves! Below is a handy How-To Guide for how to make one for yourself if you would like an example of what we’re looking for.
How to enter
This competition is open to the entire world like most of our competitions, as we ship internationally.
To enter all you need to do is send us:
- Your name
- Your location
- A short description of the pen you decided to ‘pimp’, with a little bit about why and how, together with a few photos. These photos must include a before and after. However, if you can send a few more in all the better. Please do not send in more than 5 photos per submission.
Terms & Conditions
- By submitting your entry you agree to allowing us to upload it to our website and share it on social media
- All entries to be submitted to [email protected] with the subject line Pimp My Pen Competition
- All entries must be received by midday GMT on the 7th March 2015
- The winner will be announced no later than 10th March 2015
- Names will be used on the blog but only detailing location – no email address or other contact details will be disclosed
- The winner will be selected over a cuppa by the staff at The Pen Company, however we’ll also be looking at your entry’s popularity on Social Media outlets, so get sharing! Please use the hashtag #PimpMyPen when sharing so we don’t miss it!
- There is only one winner
- You may enter more than once, providing it is with different pens!
- The winning prize is £100 to spend with The Pen Company
Duct Tape Flower Pen: How-To Guide
Equipment needed:
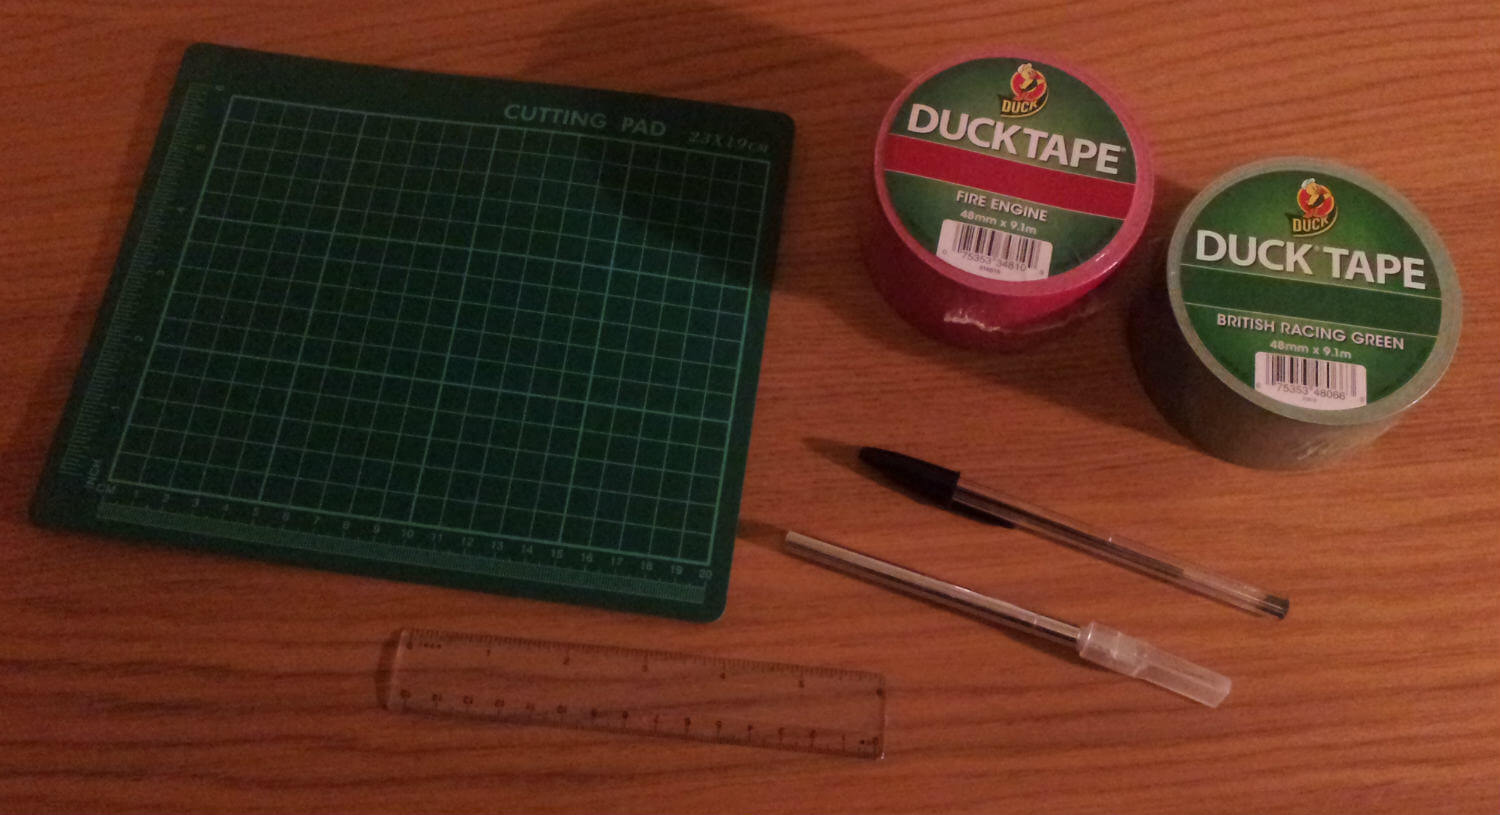
- One cheap/old pen
- 2 rolls of duct tape – one green & the other the colour you’d like your petals to be
- A craft knife
- A cutting mat
- A ruler
Note: You could replace the craft knife and cutting mat with a pair of scissors – just use whatever you already own/are happiest using.
Step 1
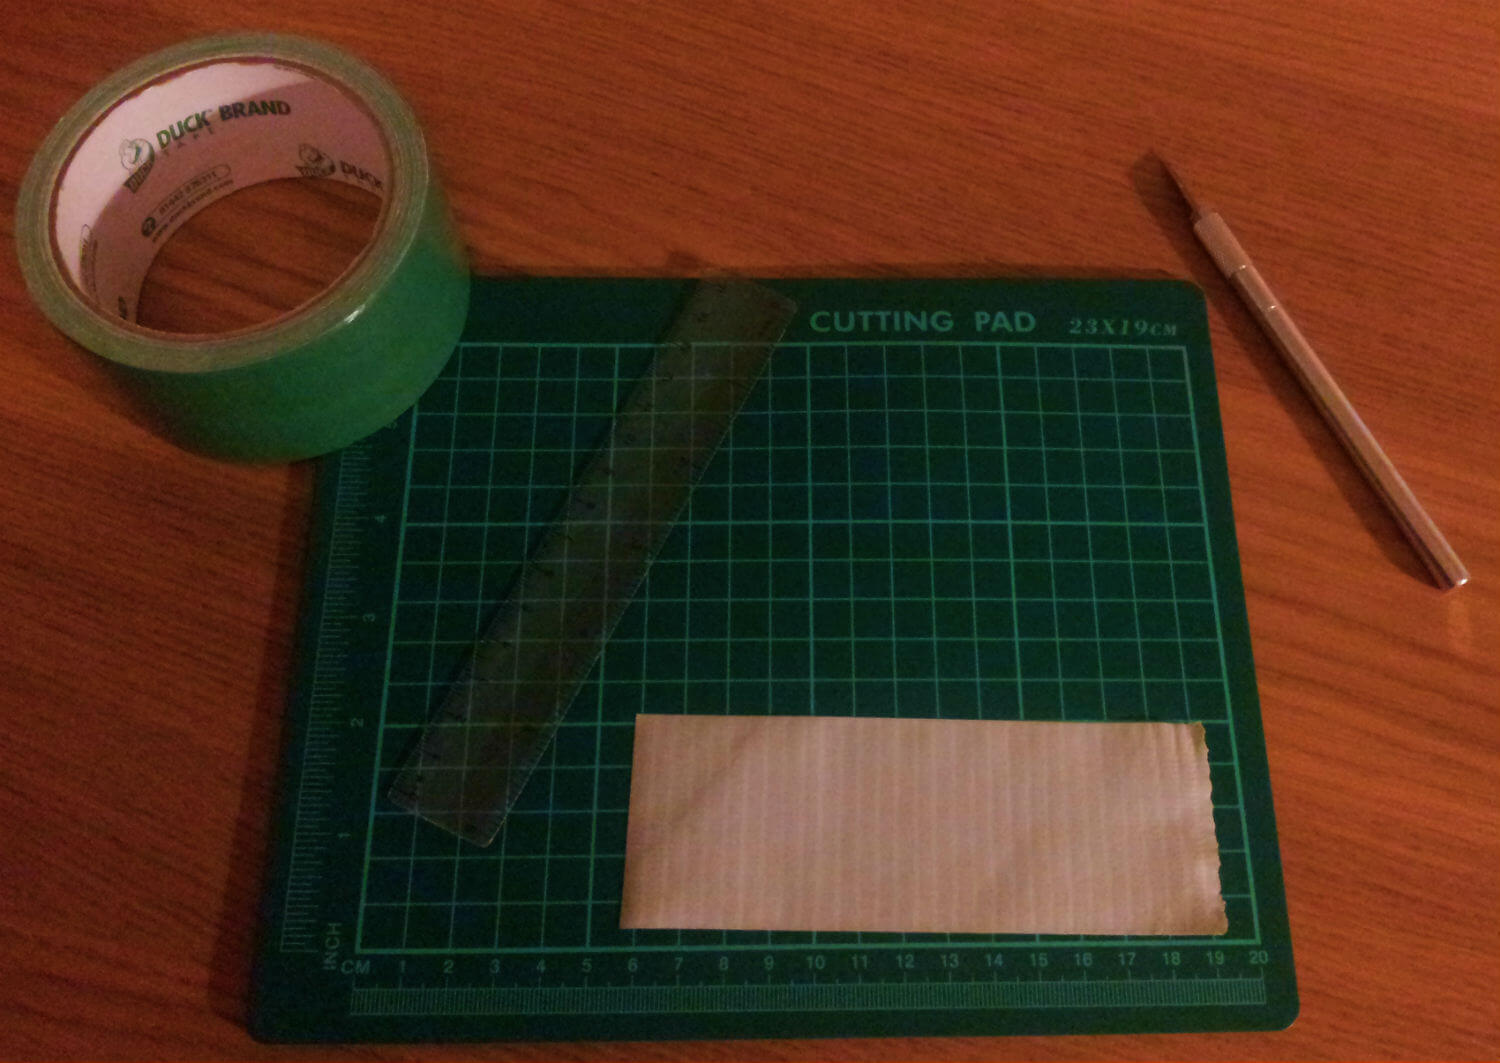
Cut a strip of the green duct tape. This needs to be the length of your pen, from the end to wherever you’d like the green ‘stem’ to end – this may depend on if your pen has a cap, as if it does you may want to leave a bigger gap at the nib end so the cap still slides on easily.
Step 2
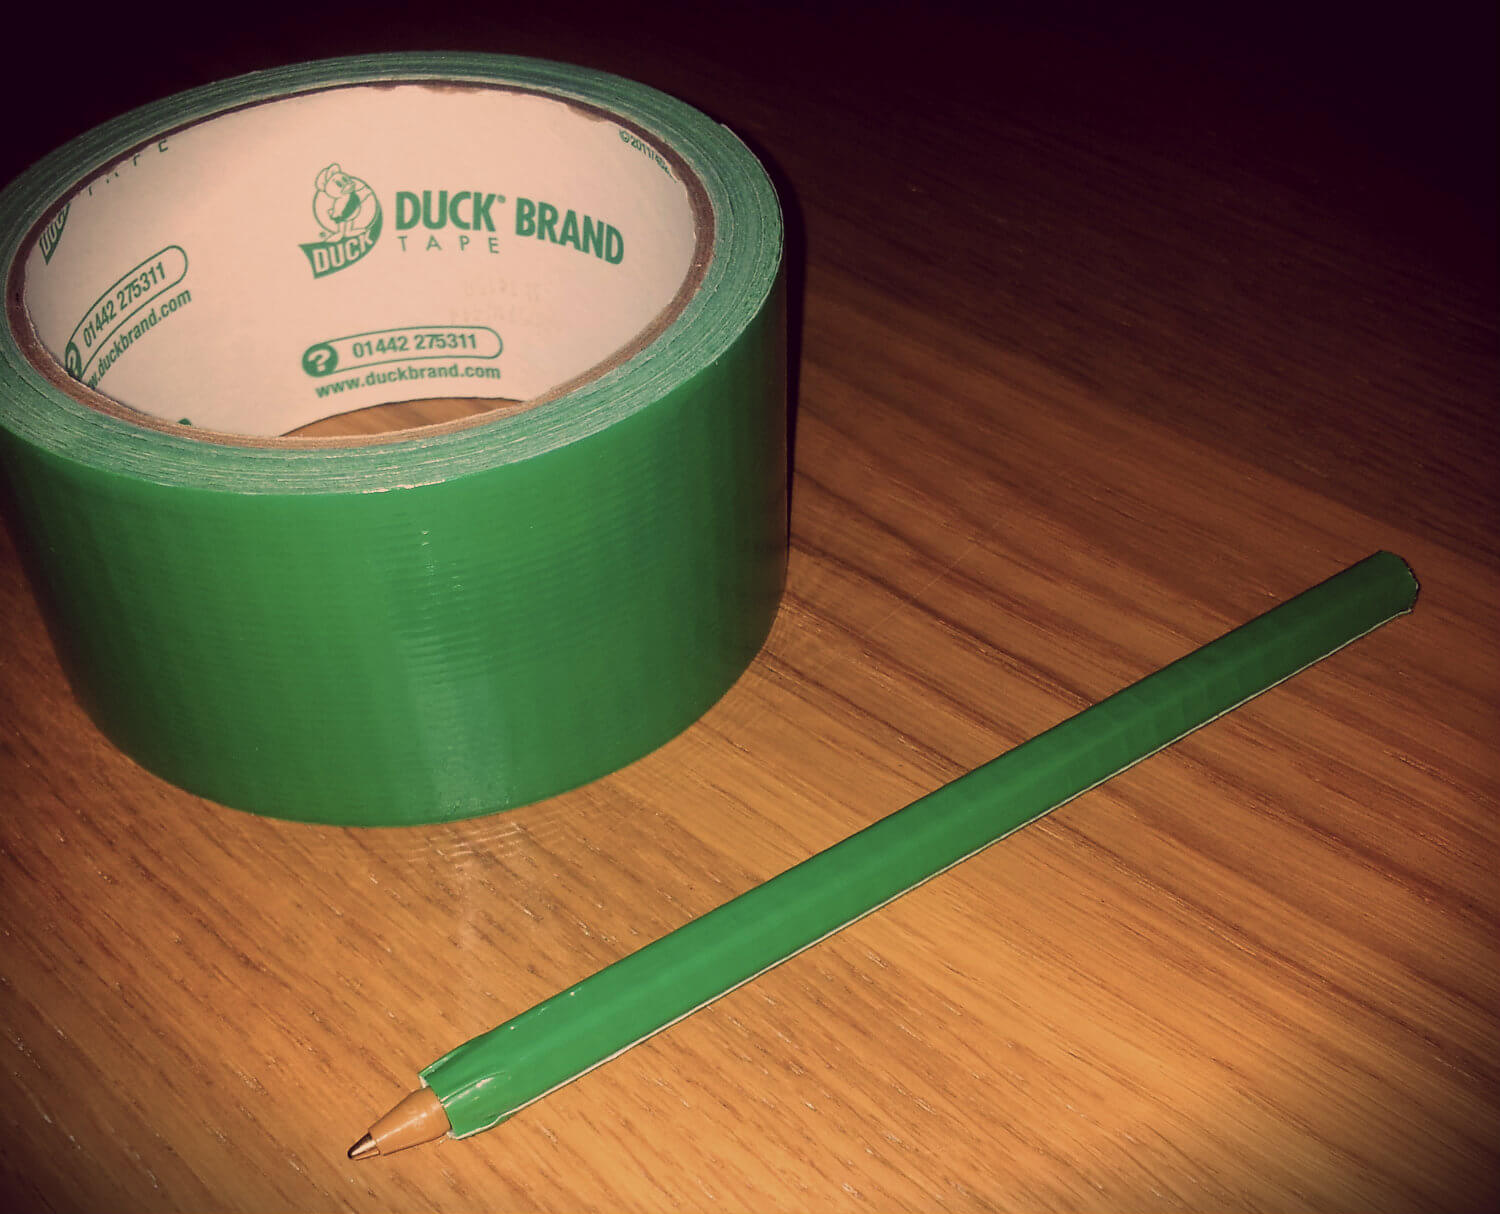
Carefully line your pen up with the duct tape, and roll until the tape is entirely wrapped around it. This is your stem done! Simple, isn’t it?
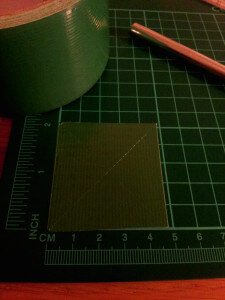
Step 3
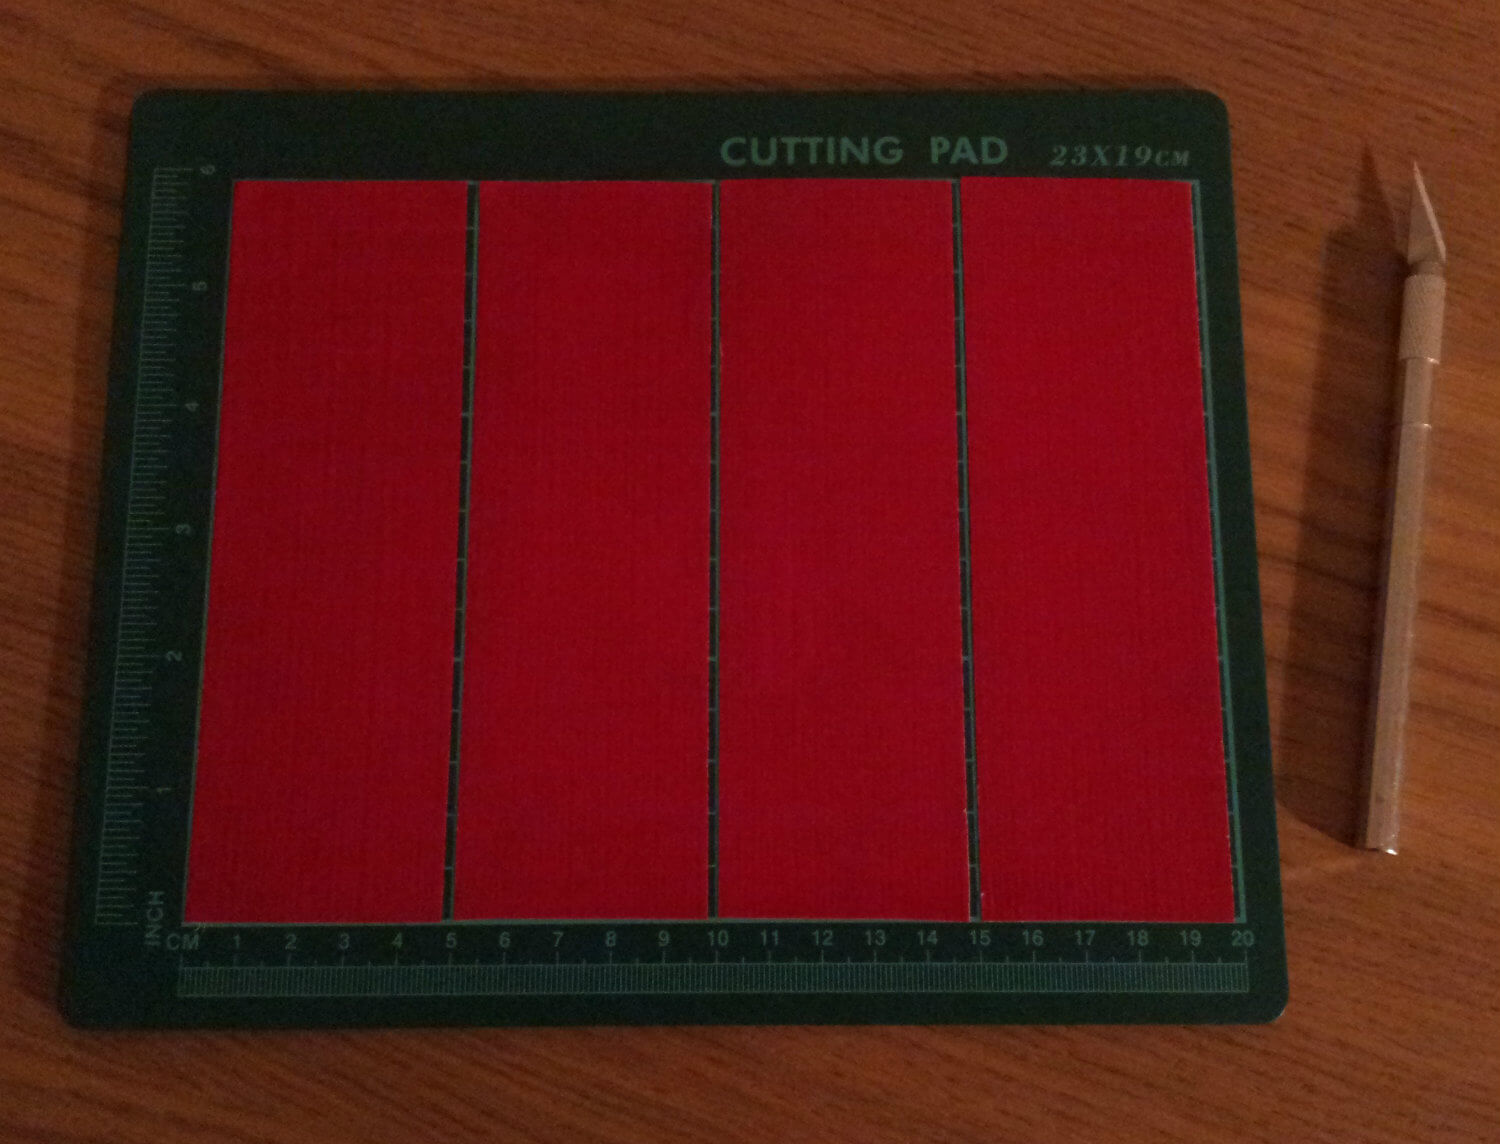
Now you need to cut your other roll of duct tape into 2 inch pieces. The number of petals required will vary from project to project, and depend on how big you’d like your flower head to be. I used approximately 40.
Step 4
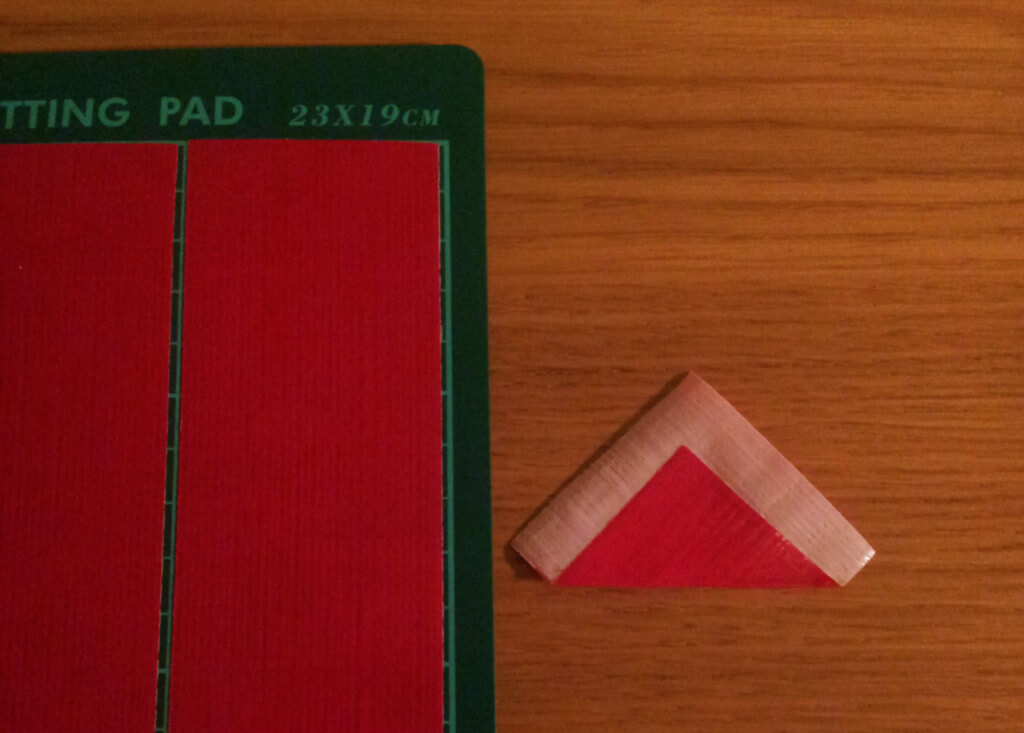
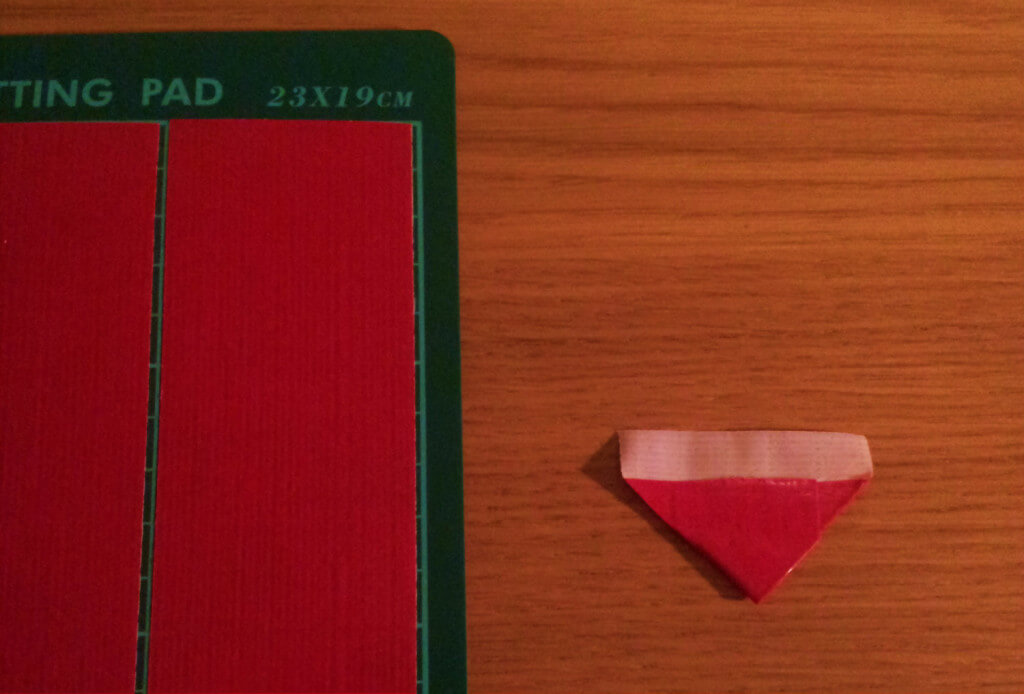
You just need to do 2 folds to make each petal. Firstly, take your piece of duct tape and fold one corner in so it leaves a while L shape. Next, grab one of the corners that aren’t the middle of the L shape, and fold it inwards so you are left with a house shape. Now you are ready to stick your first petal onto your stem.
Step 5
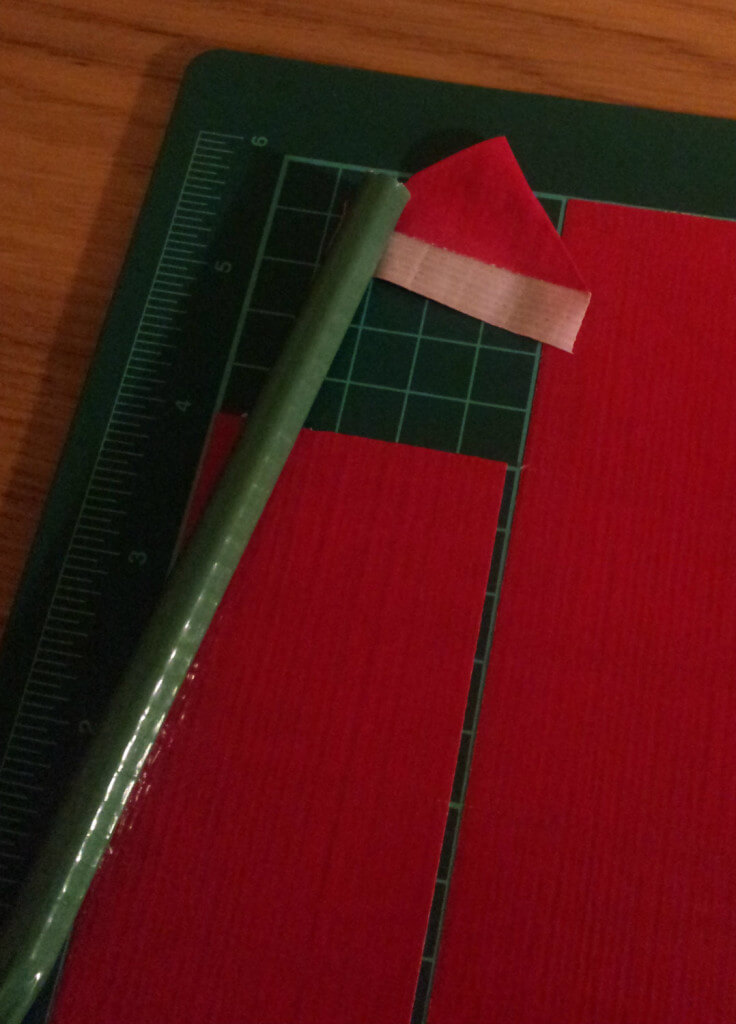
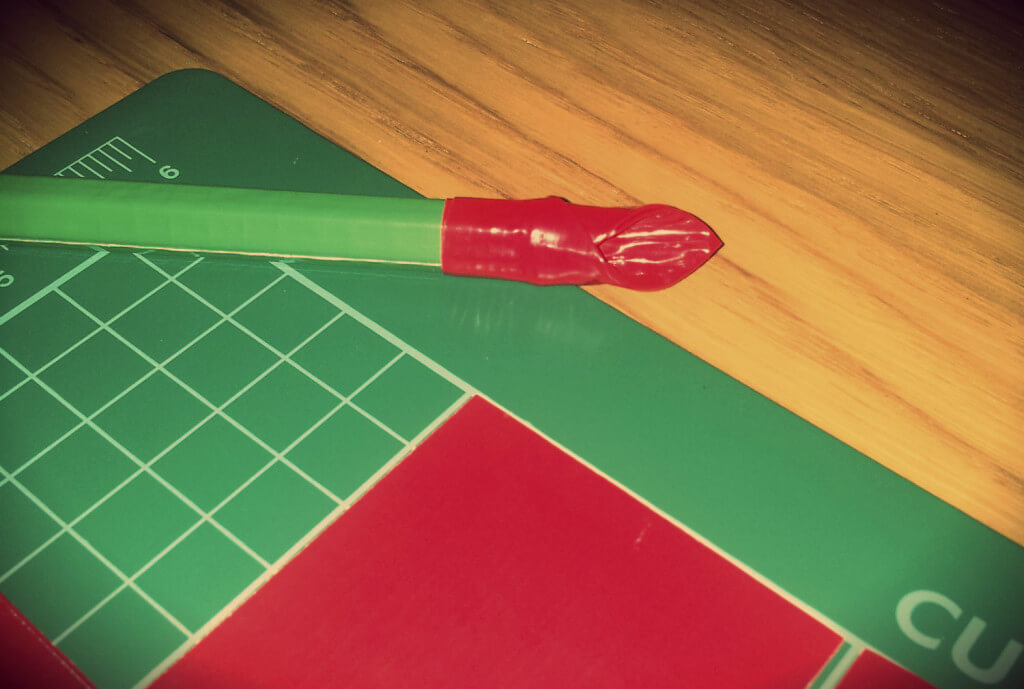
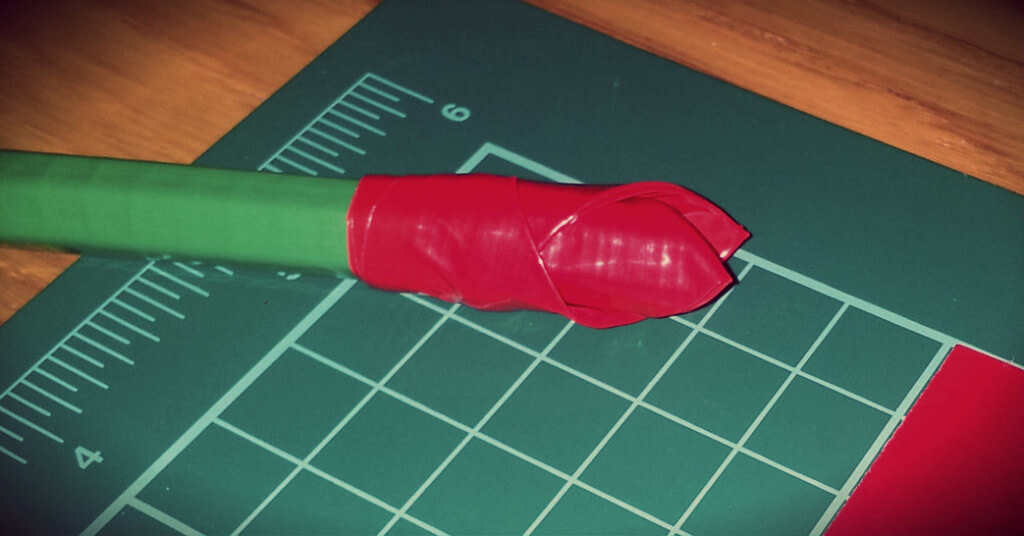
Wrap your house-shaped tape around the top of your pen, to form a petal shape. Now you need to repeat Steps 4 and 5, spacing the petals appropriately, until you have a full flower.
Step 6
[su_table]
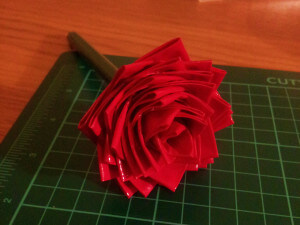
 Before leaves |
 Making the leaves |
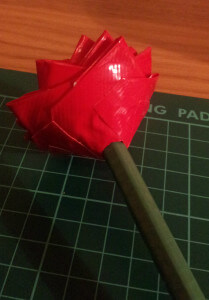
 Flower with leaves |
[/su_table]
To finish your flower pen, cut some leaves from the green tape to pop around the bottom of the flower. This is as simple as quartering a 2 inch piece of tape corner to corner, and applying to the base of the flower. Now you’re all done and ready to show your pen off to the world!
#PimpMyPen